Wednesday, March 23, 2016
How to Root Samsung with One Click Root
Samsung line products have occupied most of the top-sale list of Android devices, a few examples, Galaxy Note I, Note II, Galaxy S Duos, Galaxy S II, Galaxy S III, Galaxy S4 and else. With such extensive popularity, rooting Samsung becomes the hottest concern among its users, fans, and developers.
How to root Samsung in one click with Kingo Android Root?
Here takes Samsung Galaxy S4 as an example. Other device models please refer to the correspondent guide page
IMPORTANT: Before you proceed, please do backup your important data first.
- Prepare your Samsung device (Galaxy S4 in this case), USB cable (the stock one recommended) within your reach. Internet Connection is required.
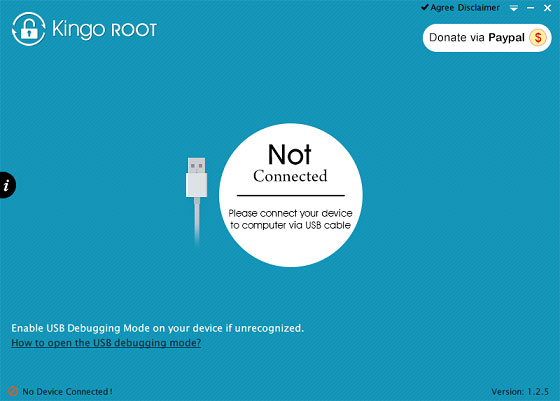
- Free download Kingo Android Root, install and launch it on your computer.
- Connect your Samsung device (Galaxy S4 in this case) to your computer via USB cable. Make sure the connection is stable. Do not touch or unplug the cable till the end.
- [If you have already installed driver software on your PC, skip to the next step]
- After connecting to computer, Kingo Android Root will automatically check driver for your device and if it isn’t installed on your PC, it will download and install for you. Once driver installation is finished, the program will establish connection with your device.
- [If you have already enabled USB Debugging Mode, skip to the next step]
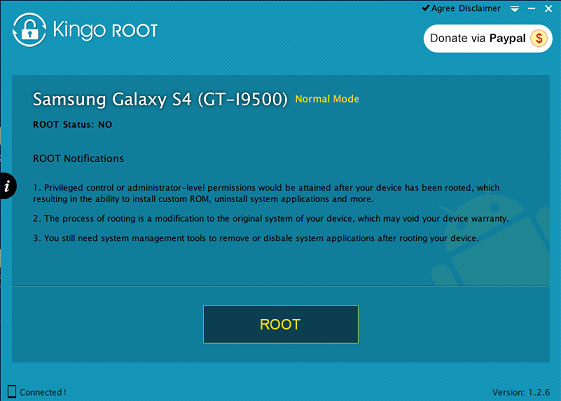
- Now enable USB Debugging on your device manually by following the detailed instructions on the interface of Kingo Android Root according to your Android version respectively. Once enabled, your device model name and root status will appear on the software as long as ROOT Notifications and a ROOT button.
- IMPORTANT: DO READ THE NOTIFICATIONS BEFORE YOU PROCEED
- After realizing the risks and possible consequences of Android rooting behavior, click ROOT to start rooting your device. It will take a few minutes to complete the process. The time required by the process varies from different objective conditions such as connection, network, phone models and all. Do not panic if it takes a little longer.
- If it succeeds, which happens in most cases, Kingo Root will give you a success notice. DO NOT UNPLUG YOUR DEVICE YET! Please click "Finish" and wait for your device to reboot.


- When your device successfully reboots itself, Kingo Android Root will again establish connection with your device. There would a screen pop out on your device shown as below. Click "Grant" to superuser privilege.
- Kingo Android Root now will show you a ROOT Status of your device as YES. And you will have the option to remove root from your device as well by just one-click.
Subscribe to:
Post Comments
(
Atom
)
No comments :
Post a Comment